Outline
when we develop the app, sometimes we need to apply a specific font to it. in here, I’ll introduce how to apply custom font and how to use custom font on RN(React Native). normally, I use Goolge Noto Sans font.
- Google Noto KR font: https://fonts.google.com/specimen/Noto+Sans+KR
- Google Noto JP font: https://fonts.google.com/specimen/Noto+Sans+JP
in this blog, I will use the font below for clearly distinguishing.
- Dancing Script: https://fonts.google.com/specimen/Dancing+Script
Donwload Font
first, download the font what you want to use on RN(React Native). in here, we’ll download Dancing Script font mentioned in the outline section. click the link below to go to the download site.
- Dancing Script: https://fonts.google.com/specimen/Dancing+Script
you can see the screen below when you click the link.

click SELECT THIS FONT on the right top of the screen.

after that, you can see Family Selected on the right bottom of the screen. click Family Selected.

when you see the screen like above, click the download button on the right top to download.
Apply Font
we need to set the font to each OS. first, we’ll modify js code.
Modify javascript source code
modify source code like below to use custom font.
import * as React from 'react';
import { Platform } from 'react-native';
import Styled from 'styled-components/native';

const instructions = Platform.select({
  ios: 'Press Cmd+R to reload,\n' + 'Cmd+D or shake for dev menu',
  android:
    'Double tap R on your keyboard to reload,\n' +
    'Shake or press menu button for dev menu',
});

const Container = Styled.View`
    flex: 1;
    justify-content: center;
    align-items: center;
    background-color: #F5FCFF;
`;
const Welcome = Styled.Text`
  font-size: 20px;
  text-align: center;
  margin: 10px;
  font-family: 'DancingScript-Bold'; // <<<<<<<<<<<<< Add here
`;
const Instructions = Styled.Text`
  text-align: center;
  color: #333333;
  margin-bottom: 5px;
  font-family: 'DancingScript-Regular'; // <<<<<<<<<<<<< Add here
`;

interface Props {}
interface State {}

export default class App extends React.Component<Props, State> {
  render() {
    return (
      <Container>
        <Welcome>Welcome to React Native!</Welcome>
        <Instructions>To get started, edit App.js</Instructions>
        <Instructions>{instructions}</Instructions>
      </Container>
    );
  }
}
normally, I use typescript and styled-components for developing the app in RN(React Native). so maybe, the source code is a little bit different with yours. if you want to know how to apply typescript and styled-components to RN(React Native) project, see the links below.
iOS
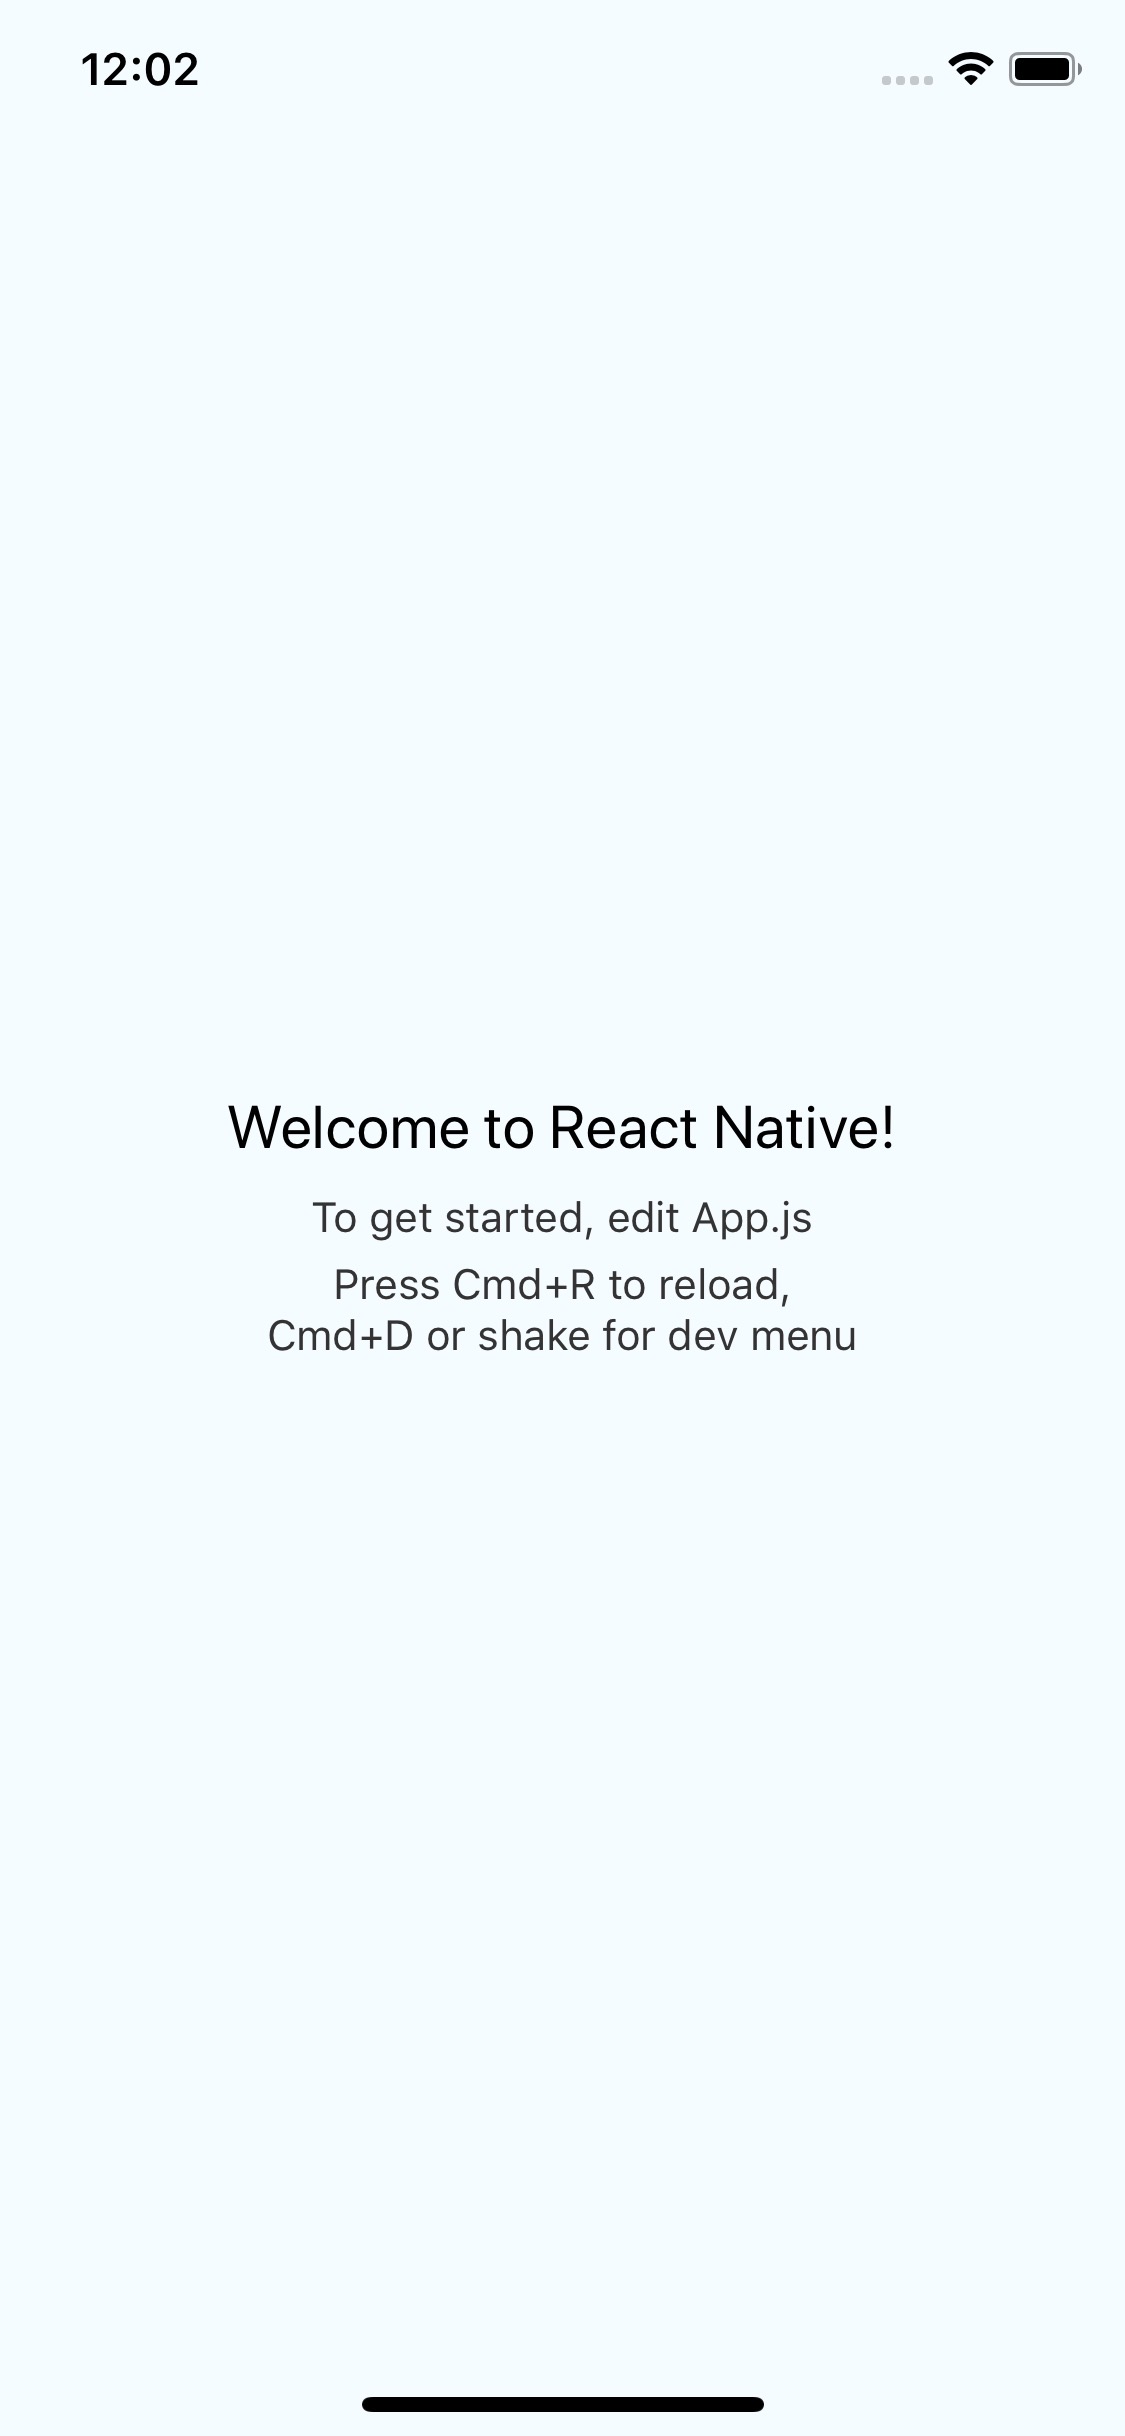
when you execute RN(React Native) project, you can see the screen applied the basic font like below.(or you can see the error because the font is not found)
create ios/Fonts folder and copy the font file we downloaded above to it.

after copying, execute ios/project_name.xcodeproj or ios/project_name.xcworkspace to execute Xcode.

right click the project name on the left top and select Add Files to "project_name"....

when you see the file selection screen, select ios/Fonts created above and select Create folder references, click Add to add the folder.

click the project name on the left top, and select the project name on TARGETS. click Info tab on the top menu to see Info.plist. add Fonts provided by application and font files to Info.plist.
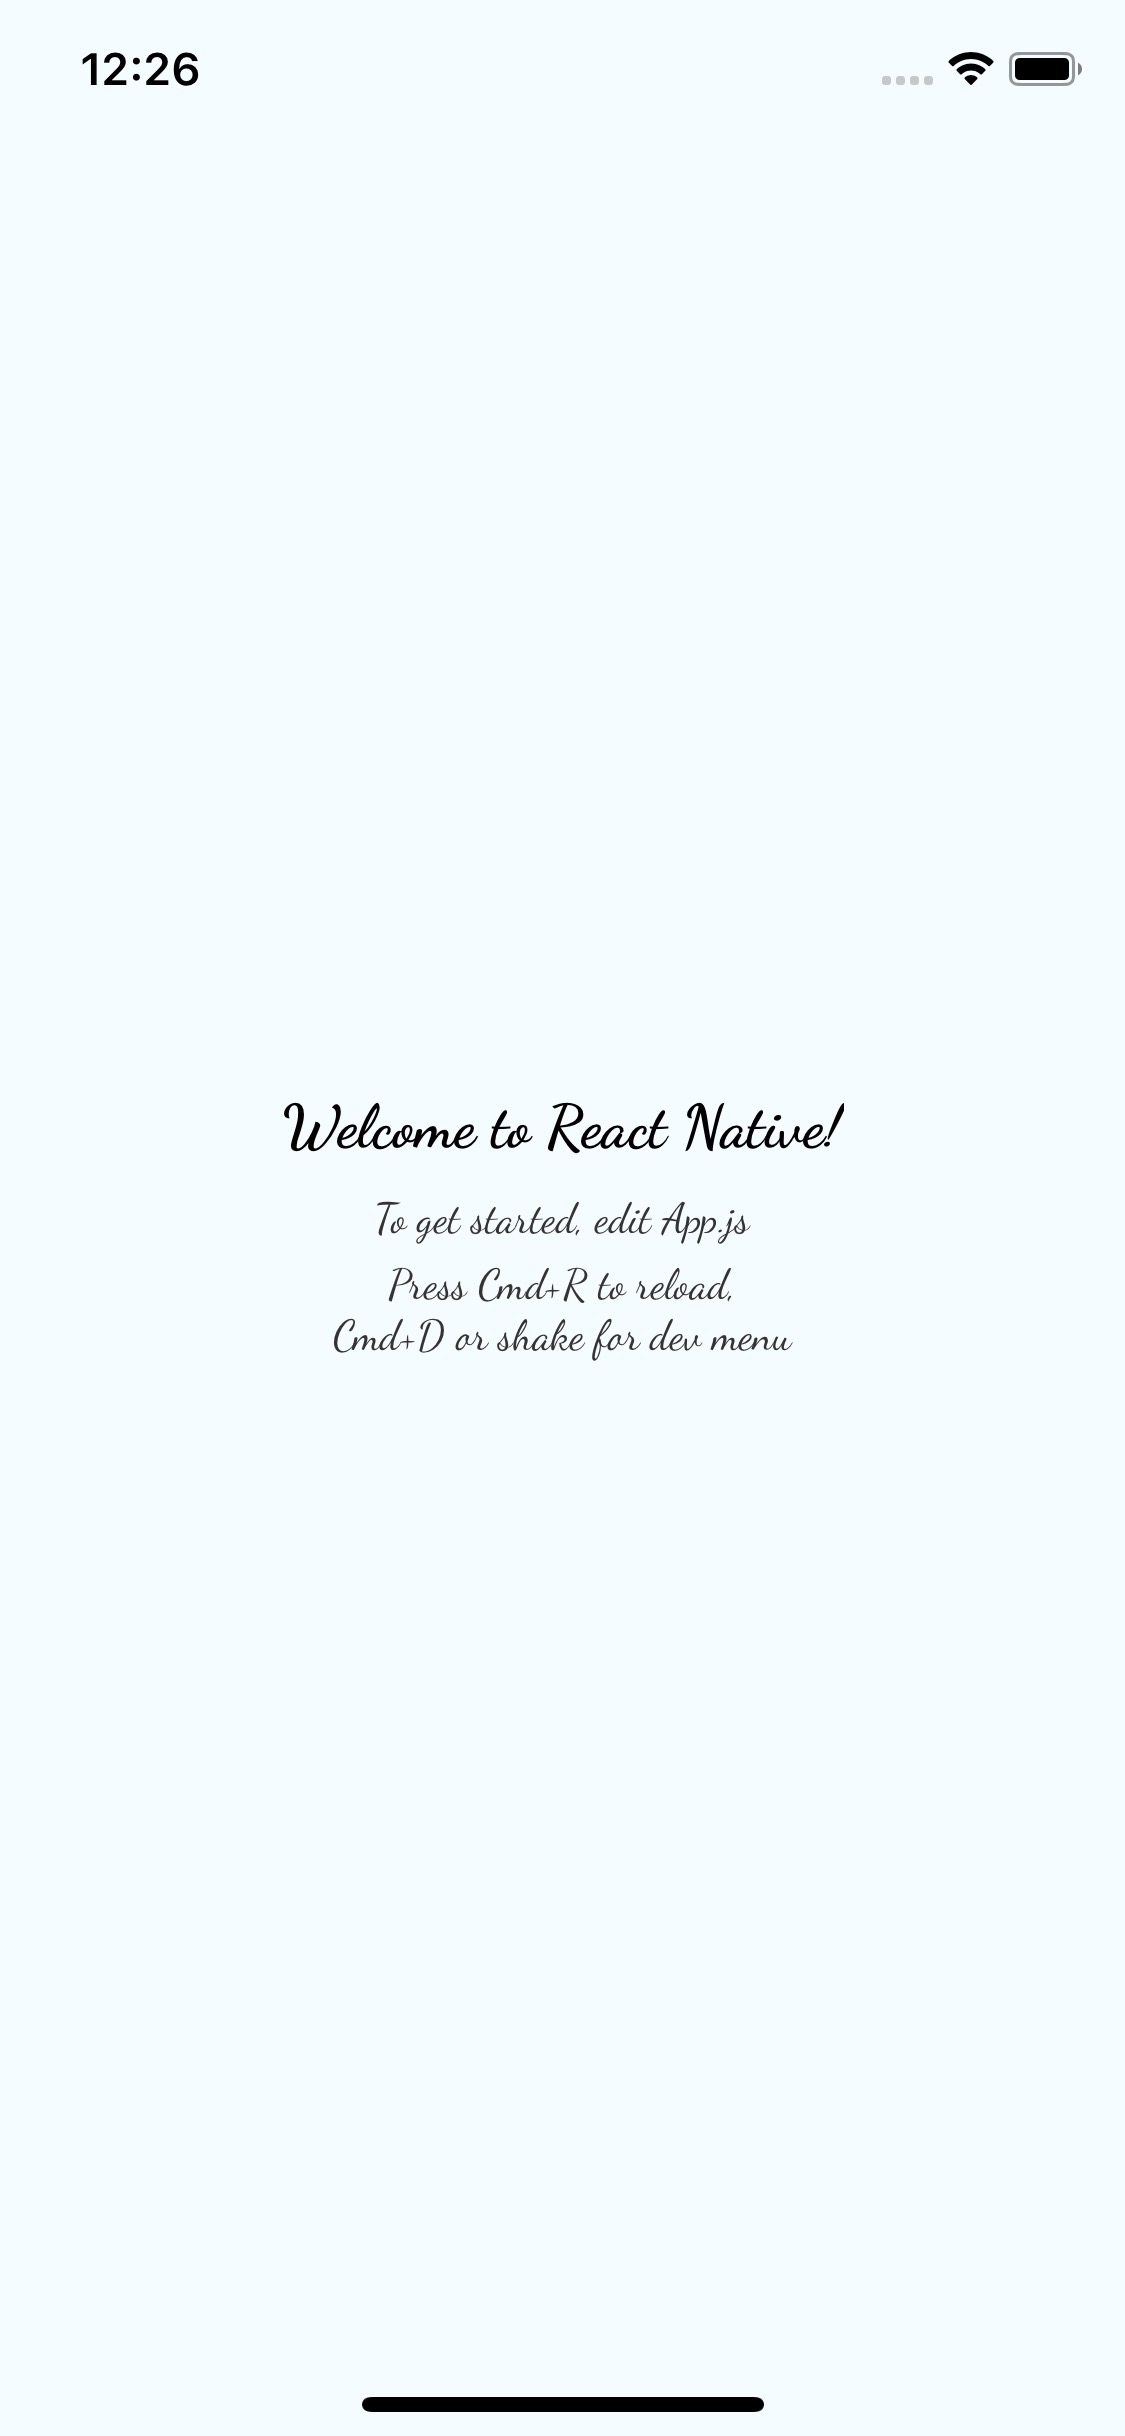
re-execute RN(React Native) project. you can see the screen applied custom font like below.
Android
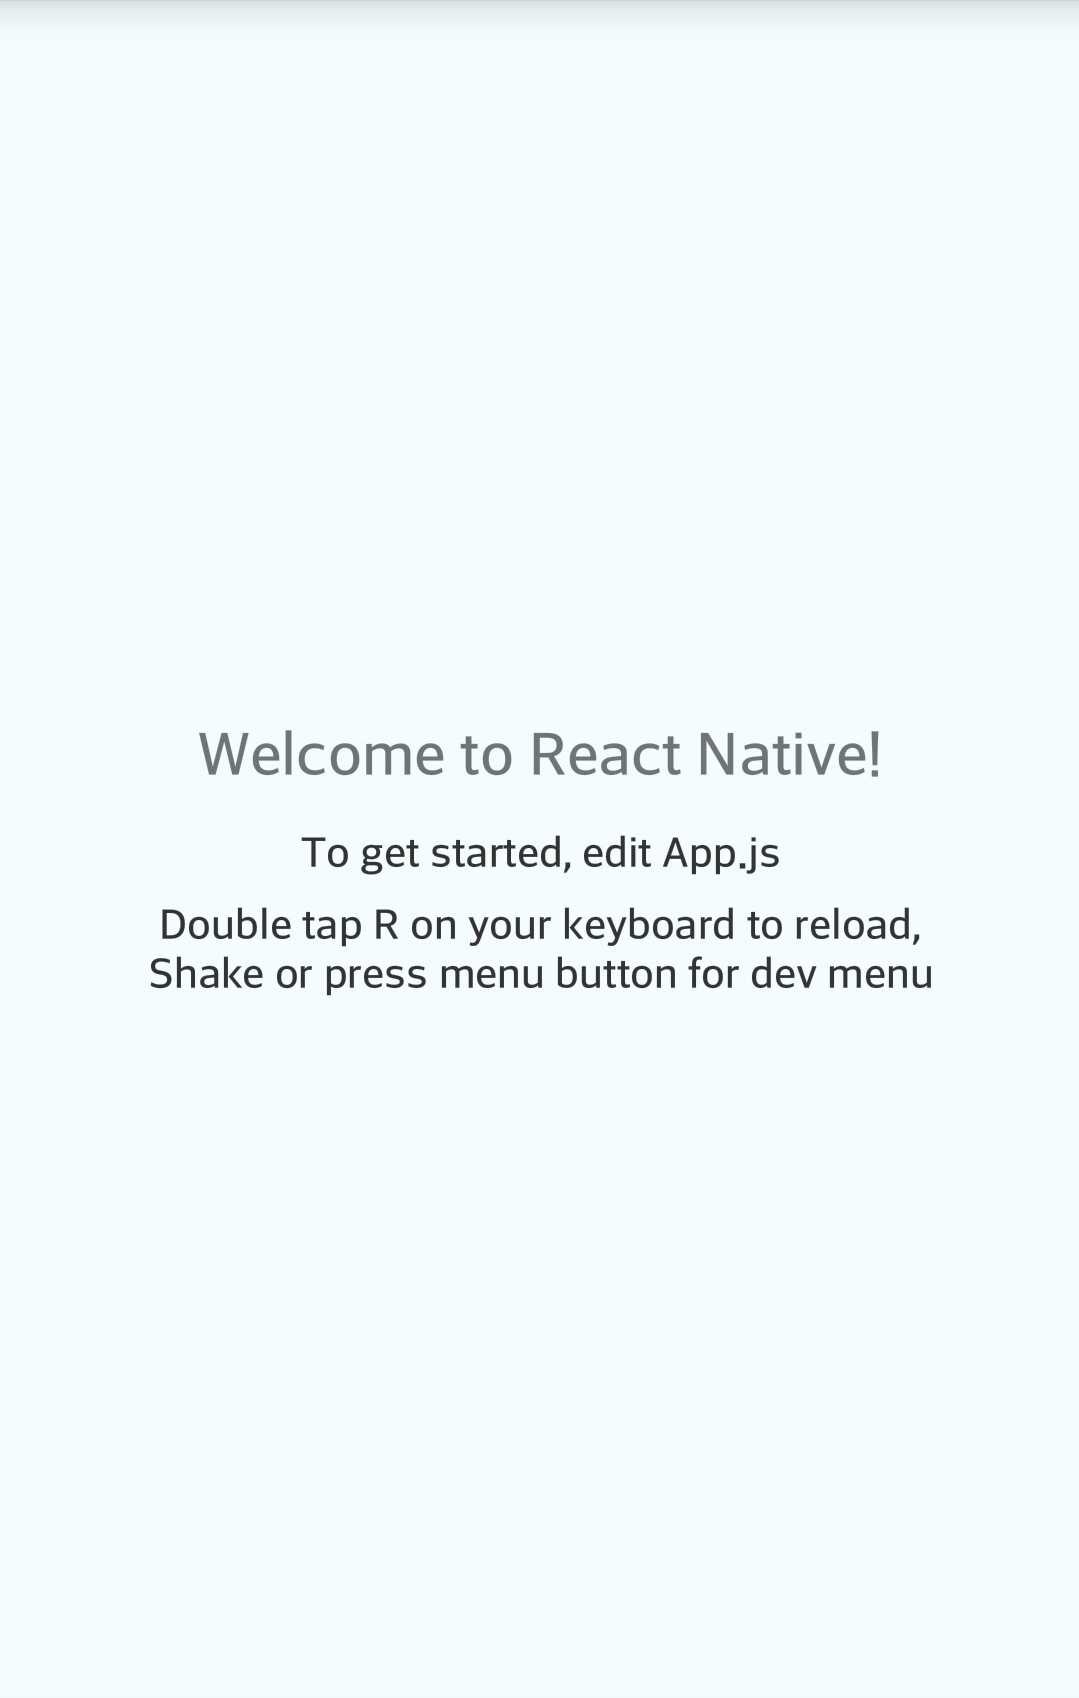
execute RN(React Native) for Android. you can see the screen applied basic font like below.
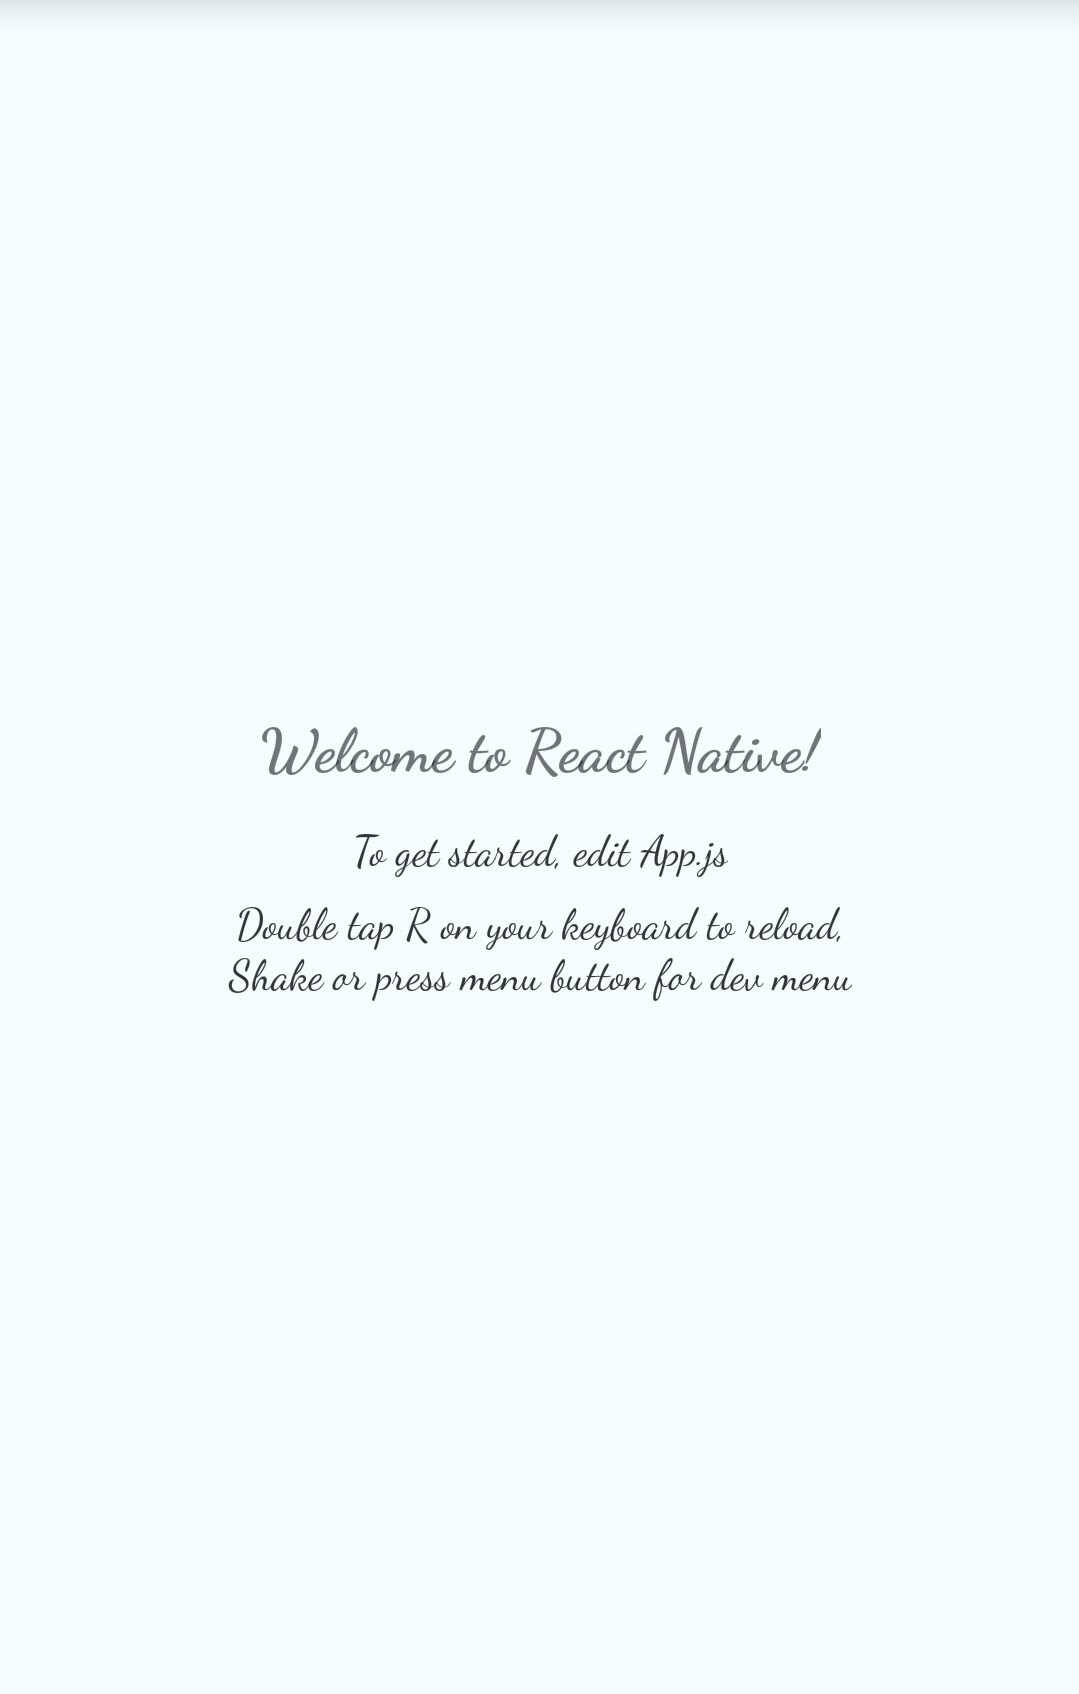
Android is more simple than iOS to apply custom font. create android/app/src/main/assets/fonts folder and copy custom font to it.

and execute RN(React Native) project. you can see the screen applied custom font like below.
Github Repository
I made Github repository about what we made above. if you couldn’t do well, clone the repository and check it!
- Github repository: react_native_custom_font
Completed
finally, we’ve done to apply custom font to RN(React Native) project. I think the font is very important to show the beauty of the app. you guys, let’s apply custom font to make your app more beautiful!
Was my blog helpful? Please leave a comment at the bottom. it will be a great help to me!
App promotion
Deku.Deku created the applications with Flutter.If you have interested, please try to download them for free.